


Travel-Proof Your Garden: How to Build a Simple DIY Self-Watering Planter (SIP) in Minutes
Do you love gardening but dread leaving your plants to fend for themselves when you travel? Imagine returning home to thriving, healthy plants instead of wilted, sun-scorched pots. Building a DIY Self Watering Planter is the perfect solution for busy gardeners, frequent travelers, and anyone who wants healthier plants with less daily maintenance. This ingenious system delivers water directly to plant roots through capillary action, ensuring consistent moisture levels even when you’re away for days or weeks.
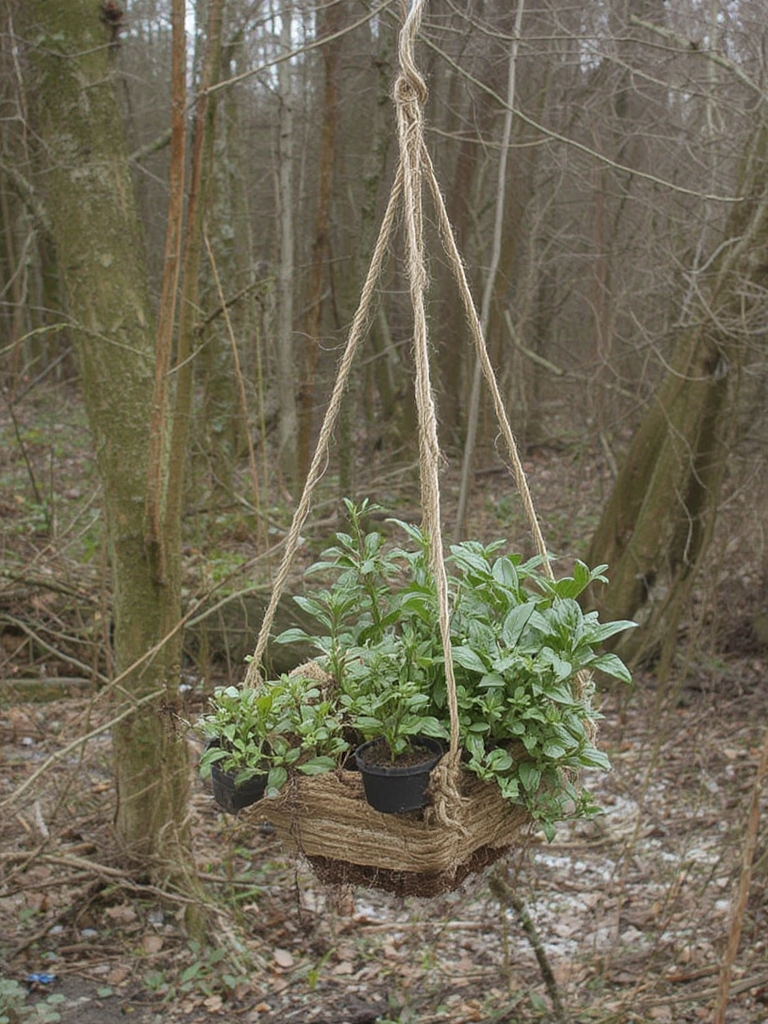
Self-watering planters, also known as sub-irrigated planters (SIPs), revolutionize container gardening by creating a water reservoir beneath your growing medium. This allows plants to drink as needed, reducing water waste and eliminating the guesswork from watering schedules. Whether you’re new to gardening or looking for smarter growing methods, this simple project takes just minutes to complete and works beautifully for vegetables, herbs, and ornamental plants alike.
Materials & Supplies
To create your DIY Self Watering Planter, gather these essential materials:
Required Items:
- Two food-grade plastic containers (one slightly smaller to nest inside the larger one)
- Cotton rope, felt strips, or absorbent synthetic fabric for wicking (3-4 pieces, 12-18 inches long)
- Drill with 1/4-inch and 1/2-inch bits
- High-quality potting soil or growing medium
- Perlite or vermiculite for improved drainage
- PVC pipe (1-inch diameter, 10-12 inches long) for water fill tube
- Scissors or utility knife
- Measuring tape
Optional Additions:
- Overflow hole drill bit (5/8-inch)
- Landscape fabric to separate reservoir from soil
- Compost or slow-release organic fertilizer
- Mulch to reduce evaporation
Timing / Growing Schedule
Building your self-watering planter takes approximately 15-20 minutes for assembly, plus another 10-15 minutes for planting. The beauty of this Sub-irrigated planter tutorial, SIP garden for beginners, wick watering system, container gardening for travelers is that once established, plants typically need reservoir refilling only once every 5-10 days, depending on plant size, weather conditions, and container capacity. This means you can confidently travel for a week or more without worrying about your garden. Most vegetables and herbs will establish root systems within 2-3 weeks and begin actively drawing from the reservoir.
Step-by-Step Instructions
Step 1: Prepare the Inner Container
Drill 8-12 drainage holes (1/4-inch diameter) evenly across the bottom of your smaller container. These holes allow water to wick upward while preventing roots from sitting in standing water.
Step 2: Create Wicking System
Thread 3-4 cotton ropes or fabric strips through several drainage holes, leaving 6-8 inches hanging below the container. These wicks transfer water from the reservoir to the soil through capillary action—the heart of any effective wick watering system.
Step 3: Install Fill Tube
Drill a hole in the inner container’s side (near the top edge) sized to snugly fit your PVC pipe. Insert the pipe so it extends down into the reservoir space between containers.
Step 4: Add Overflow Hole
Drill an overflow hole (5/8-inch) in the outer container’s side, positioned where you want the maximum water level—typically 2-3 inches from the bottom.
Step 5: Assemble Planter
Place the inner container inside the outer one, ensuring wicks dangle into the reservoir space. The inner container should sit at least 2 inches above the outer container’s bottom.
Step 6: Fill with Growing Medium
Mix potting soil with 20-30% perlite for optimal aeration. Fill the inner container, ensuring wicks are surrounded by soil. Water thoroughly from the top initially to establish the wicking connection.
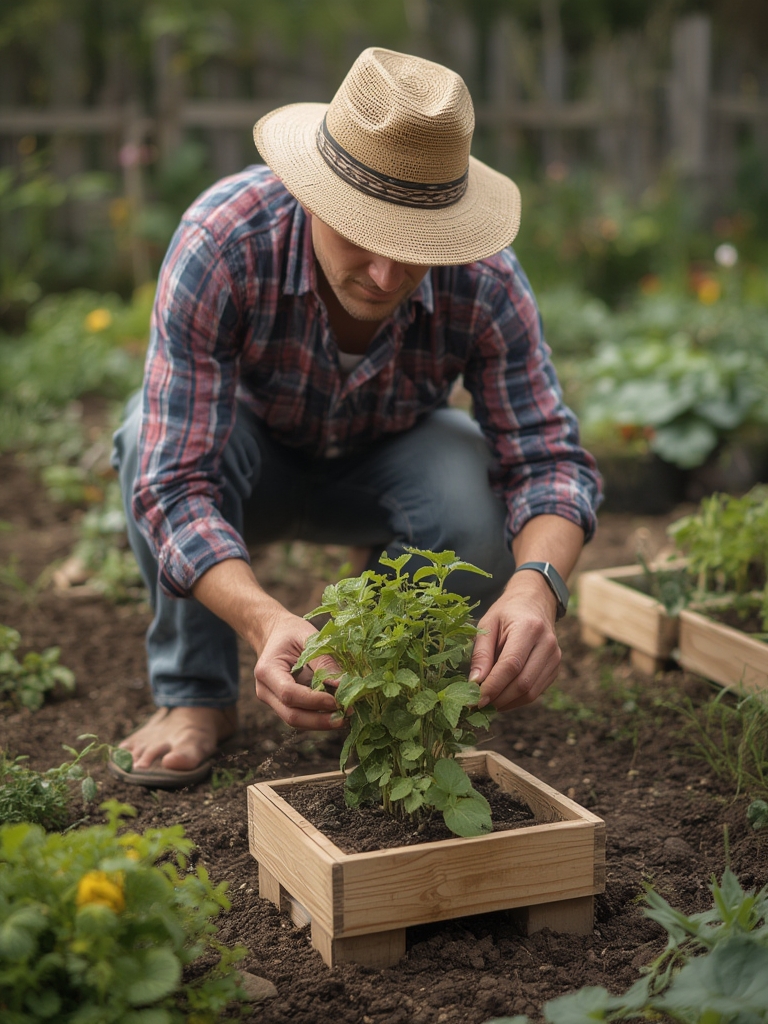
Step 7: Plant and Water
Plant your chosen vegetables, herbs, or flowers. Water from above for the first week, then transition to filling only the reservoir through the fill tube.
Advantages of DIY Self-Watering Planters
Creating your own SIP garden for beginners offers remarkable benefits beyond travel convenience. These systems reduce water consumption by up to 50% compared to traditional containers since water goes directly where needed—no runoff or evaporation waste. Plants develop stronger, deeper root systems searching for consistent moisture below, resulting in healthier growth and increased yields. Self-watering planters also minimize disease risks associated with wet foliage from overhead watering and maintain optimal soil moisture, preventing the stress cycles of drought and oversaturation that weaken plants.
Tips, Alternative Methods, or Gardening Advice
For small-space gardening, create multiple SIPs using 5-gallon buckets for individual plants or large storage totes for full salad gardens. In hot climates, add a 1-2 inch mulch layer to further reduce evaporation. During cool seasons, monitor moisture levels more closely as plants consume less water. Consider using food-grade fabric grow bags inside your outer container as an alternative to nested plastic containers. For indoor growing, add a water level indicator (a simple dowel marked with “empty” and “full” lines works perfectly) to prevent overfilling. Organic gardeners can create nutrient-rich “compost tea” to fill reservoirs, providing both water and gentle fertilization.
Common Mistakes to Avoid
Overfilling the Reservoir: Water above the overflow hole creates anaerobic conditions that rot roots. Always stop when water drains from the overflow.
Insufficient Wicking Material: Using too few or too-thin wicks prevents adequate water transfer. Use at least three substantial wicks for containers over 12 inches wide.
Wrong Soil Type: Garden soil or dense mixes won’t wick effectively. Always use quality potting mix amended with perlite or vermiculite.
Skipping Top Watering Initially: New plants need top watering for 5-7 days to establish root-to-wick contact. Don’t rely solely on the reservoir immediately after planting.
Ignoring Seasonal Adjustments: Container gardening for travelers requires monitoring—reservoirs may need weekly filling in summer heat but only every two weeks during cooler weather.
Storage / Maintenance Tips
Self-watering planters require minimal maintenance once established. Check reservoir levels weekly during growing season by inserting a finger down the fill tube or using a dipstick. Refresh potting mix annually, as nutrients deplete over time. Clean reservoirs every 6-12 months to prevent algae buildup and mineral deposits—simply empty, rinse with diluted vinegar solution, and refill. During winter dormancy for perennials, reduce reservoir filling frequency dramatically. Store empty planters indoors during freezing weather to prevent plastic cracking. Periodically inspect wicks for degradation; replace cotton materials yearly for optimal performance.
Conclusion
Building a DIY Self Watering Planter transforms your gardening experience by combining convenience with superior plant health. This simple weekend project delivers professional results, whether you’re growing tomatoes on your patio, cultivating herbs on your balcony, or maintaining flowers by your front door. The freedom to travel without plant-sitting worries, combined with reduced watering chores and healthier plants, makes SIPs an invaluable addition to any garden. Ready to revolutionize your container gardening? Build your first self-watering planter this weekend and experience the difference. Share your SIP creations and results in the comments below, and explore our other innovative gardening solutions for modern lifestyles!
FAQs
Q: How long can plants survive with a filled SIP reservoir?
A: Most established plants in properly sized SIPs can thrive for 7-14 days on a full reservoir, depending on plant size, weather conditions, and container capacity. Larger reservoirs and cooler weather extend this period.
Q: What plants work best in self-watering planters?
A: Moisture-loving plants like tomatoes, lettuce, basil, peppers, and most herbs excel in SIPs. Avoid plants preferring dry conditions like cacti, succulents, lavender, and rosemary, which may develop root rot.
Q: Can I use this system for seedlings and young plants?
A: Yes, but reduce reservoir depth to 1-2 inches for seedlings to prevent overwatering. Young plants with developing root systems need careful monitoring until they establish wicking contact.
Q: How do I know when to refill the reservoir?
A: Insert a dowel or finger down the fill tube to check water level. When it feels dry 1-2 inches below the overflow hole, refill. Installing a clear tube as your fill pipe provides visual monitoring.
Q: Will mosquitoes breed in the water reservoir?
A: Properly constructed SIPs with covered reservoirs (soil above, overflow preventing stagnation) don’t attract mosquitoes. Ensure your overflow hole functions correctly to prevent standing water accumulation.