


Harvest in 7 Days: A Super Simple Guide to Growing High-Nutrient Microgreens
Have you ever wished you could grow fresh, nutritious greens in just one week without a backyard or fancy equipment? Growing Indoor Microgreens at home is not only possible—it’s incredibly rewarding and surprisingly simple. These tiny powerhouses pack up to 40 times more nutrients than their mature counterparts, making them a superfood you can cultivate right on your kitchen counter. Whether you’re a complete beginner or looking to maximize nutrition in minimal space, this guide will show you exactly how to grow microgreens indoors with minimal effort and maximum results.
Materials & Supplies
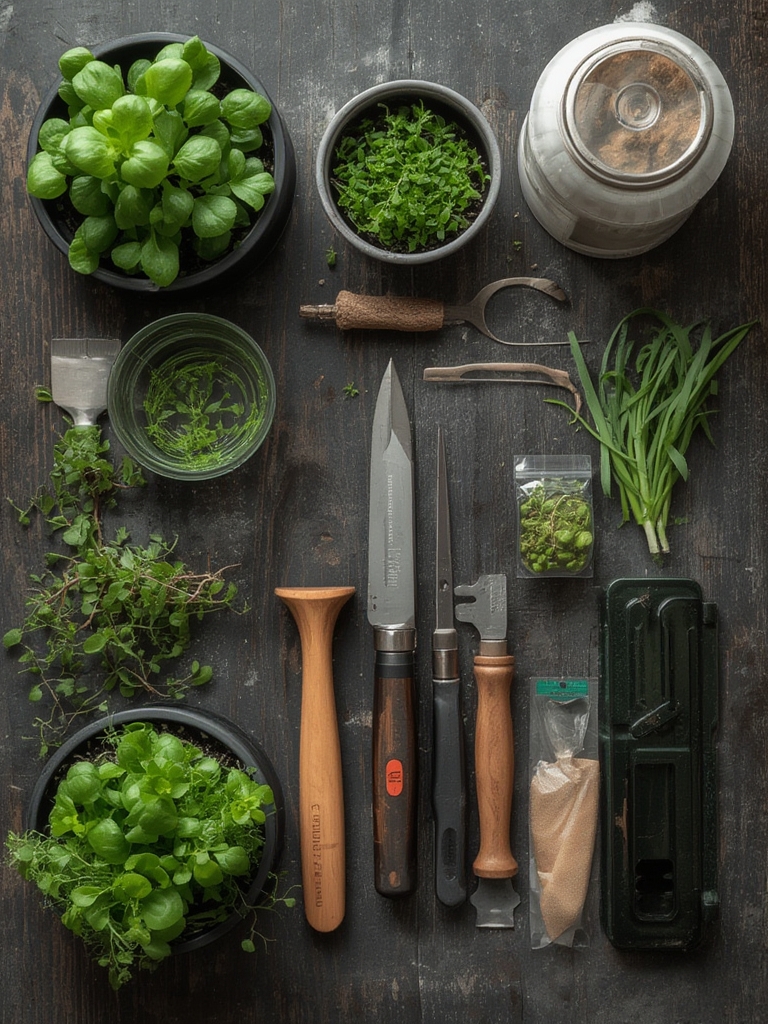
To successfully grow Indoor Microgreens, you’ll need just a few basic supplies:
Essential Materials:
- Seeds: Choose from radish, broccoli, kale, arugula, or sunflower—these are the best microgreens for beginners
- Growing Trays: Shallow containers (10×20 inches) with drainage holes work best
- Growing Medium: Organic potting soil, coconut coir, or hydroponic mats
- Spray Bottle: For gentle watering without displacing seeds
- Light Source: Sunny windowsill or LED grow light
- Water: Filtered or room-temperature tap water
Optional Enhancements:
- Humidity dome or clear plastic cover for faster germination
- pH testing kit for optimal growing conditions
- Organic kelp fertilizer for nutrient boost
- Scissors or harvesting knife
Each item plays a crucial role in creating the ideal environment for rapid, healthy growth.
Timing / Growing Schedule
One of the most appealing aspects of high-nutrient home gardening with microgreens is the incredible speed. Here’s your timeline:
- Prep Time: 10-15 minutes for setup
- Germination Period: 2-3 days (seeds sprout)
- Growing Phase: 4-5 days (greens develop)
- Total Harvest Time: 7-12 days depending on variety
Compare this to traditional vegetables that require 60-90 days, and you’ll understand why microgreens are perfect for impatient gardeners and those seeking continuous fresh produce.
Step-by-Step Instructions
Step 1: Prepare Your Growing Tray
Fill your container with 1-2 inches of moistened growing medium. Smooth the surface evenly without compacting too much—roots need room to breathe.
Step 2: Sow Seeds Densely
Sprinkle seeds generously across the surface—aim for even coverage without stacking seeds. Microgreens thrive when planted more densely than traditional plants.
Step 3: Cover and Mist
Lightly mist seeds with water, then cover with a humidity dome or second tray. This creates optimal moisture for germination. Keep in a dark location for 2-3 days.
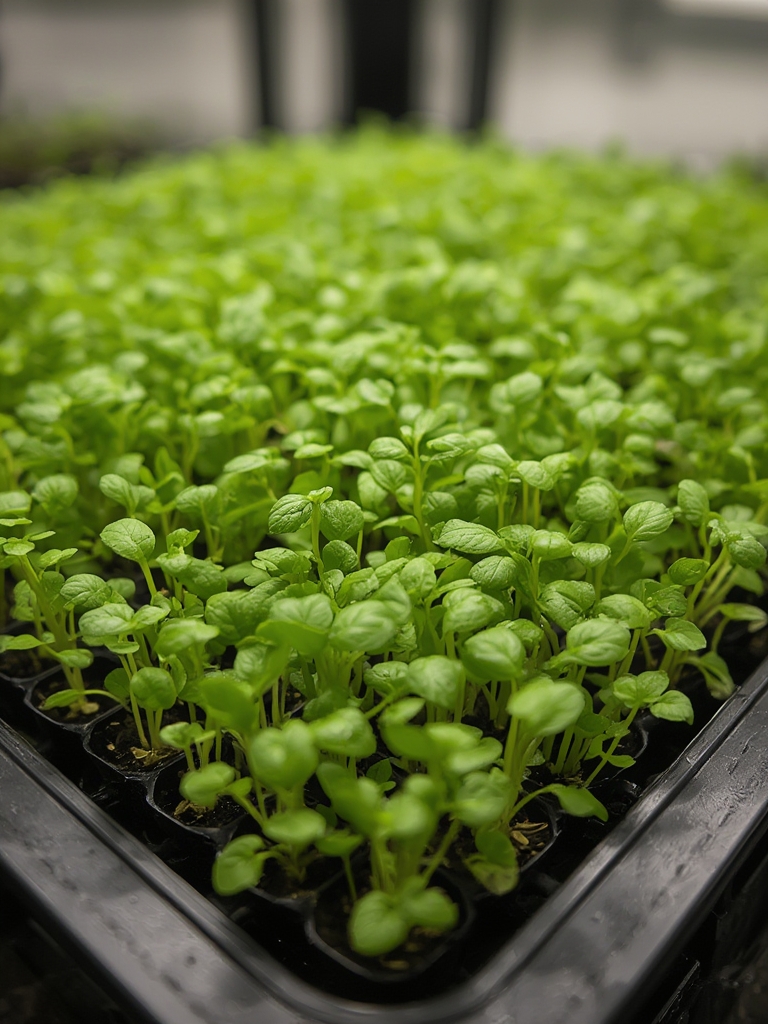
Step 4: Introduce Light
Once sprouts appear, remove the cover and place under indirect sunlight or 6-8 inches below a grow light. Provide 12-16 hours of light daily.
Step 5: Water Carefully
Mist once or twice daily, keeping soil consistently moist but not waterlogged. Bottom watering (placing tray in shallow water) prevents mold.
Step 6: Harvest at Peak
When cotyledons (first leaves) are fully developed and true leaves begin forming (7-12 days), use clean scissors to cut just above soil level.
Nutritional Benefits / Advantages
Growing quick-growing greens like microgreens delivers exceptional health advantages. Research shows these young plants contain concentrated vitamins C, E, and K, along with beta-carotene and antioxidants. Broccoli microgreens offer sulforaphane—a compound linked to cancer prevention. Red cabbage varieties provide 6 times more vitamin C than mature cabbage. Beyond nutrition, home-grown microgreens reduce food miles, eliminate pesticide exposure, and provide fresh produce year-round regardless of climate.
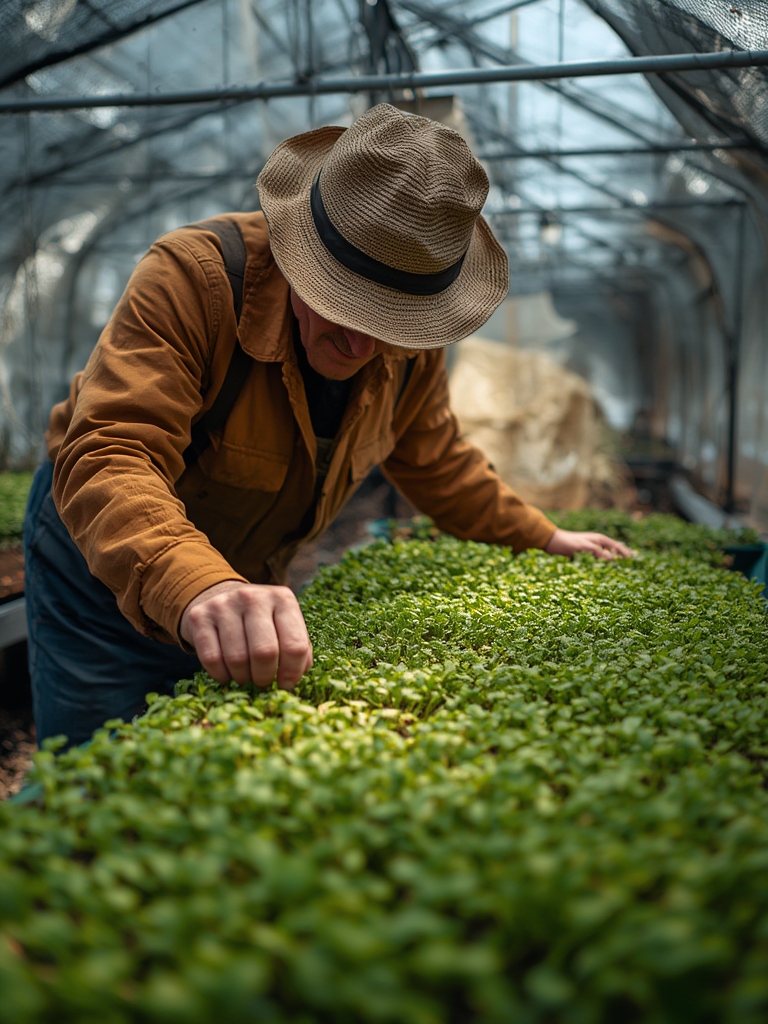
Tips, Alternative Methods, or Gardening Advice
For Small Spaces: Use vertical shelving with multiple trays to maximize yield in apartments or condos.
Hydroponic Method: Skip soil entirely using grow mats or hemp pads—cleaner and equally effective.
Seasonal Considerations: Microgreens thrive indoors year-round, but summer heat may require additional ventilation or air circulation.
Flavor Experimentation: Mix varieties like spicy radish with mild sunflower for custom flavor profiles.
Container Options: Repurpose takeout containers, baking pans, or egg cartons for budget-friendly growing.
Common Mistakes to Avoid
Overwatering: Excess moisture causes mold and damping-off disease. Solution: Ensure proper drainage and use misting rather than pouring.
Insufficient Light: Leggy, pale microgreens indicate light deprivation. Solution: Position closer to light source or extend light exposure.
Poor Air Circulation: Stagnant air promotes fungal growth. Solution: Use a small fan on low setting.
Harvesting Too Early: Waiting for true leaves develops fuller flavor. Solution: Patience pays off—wait the full week.
Using Old Seeds: Low germination rates frustrate beginners. Solution: Purchase fresh, quality seeds specifically for microgreens.
Storage / Maintenance Tips
Harvesting Storage: Rinse cut microgreens gently, pat dry with paper towels, and store in airtight containers lined with paper towels. Refrigerate for up to one week.
Ongoing Care: Once harvested, discard used soil and roots. Clean trays thoroughly with diluted vinegar solution to prevent disease buildup before next planting.
Continuous Production: Start new trays every 3-4 days for perpetual harvest cycles—you’ll never run out of fresh greens.
Conclusion
Growing Indoor Microgreens transforms your kitchen into a nutrient-dense garden with minimal investment and maximum reward. In just seven days, you can harvest restaurant-quality greens packed with flavor and health benefits. This accessible form of high-nutrient home gardening works for anyone, regardless of experience or space constraints. Start your first tray today and experience the satisfaction of farm-to-table freshness without leaving home. Share your microgreen success stories in the comments below, and explore our other urban gardening guides for more growing inspiration!
FAQs
Q1: Can I reuse soil after harvesting microgreens?
No, microgreen roots form dense mats that deplete soil nutrients. Compost used soil and start fresh each time for best results.
Q2: Why are my microgreens turning yellow?
Yellowing indicates insufficient light or nutrient deficiency. Increase light exposure to 14-16 hours daily and ensure your growing medium contains organic matter.
Q3: How much do microgreens cost to grow versus buying them?
Homegrown microgreens cost approximately $1-2 per tray versus $25-40 per pound at grocery stores—saving over 90% while ensuring freshness.
Q4: Do microgreens need fertilizer?
Generally no—seeds contain enough energy for the short growing cycle. For extended growth beyond 14 days, diluted organic liquid fertilizer helps.
Q5: What’s the difference between microgreens and sprouts?
Sprouts are grown in water and consumed with roots and seeds. Microgreens grow in soil/medium, develop leaves, and only stems and leaves are eaten—offering different flavors and nutrients.