


From Trash to Treasure: Build an Easy & Affordable DIY Vertical Pallet Garden in One Afternoon
Have you ever looked at an old wooden pallet and seen potential instead of waste? Transforming discarded pallets into a thriving DIY Pallet Garden is not only eco-friendly but also incredibly budget-conscious. In just one afternoon, you can create a stunning vertical garden that maximizes space, reduces environmental waste, and brings fresh herbs, flowers, or vegetables right to your doorstep. Whether you’re a seasoned gardener or a complete beginner, this project offers an accessible entry point into sustainable gardening while adding rustic charm to any outdoor or indoor space.
Materials & Supplies
To build your DIY Pallet Garden, gather these essential materials:
Primary Materials:
- One wooden pallet (heat-treated, marked “HT” not chemically treated)
- Sandpaper or electric sander (80-120 grit)
- Landscape fabric or weed barrier cloth
- Staple gun with heavy-duty staples
- Potting soil (approximately 2 cubic feet)
- Plants, seeds, or seedlings of your choice
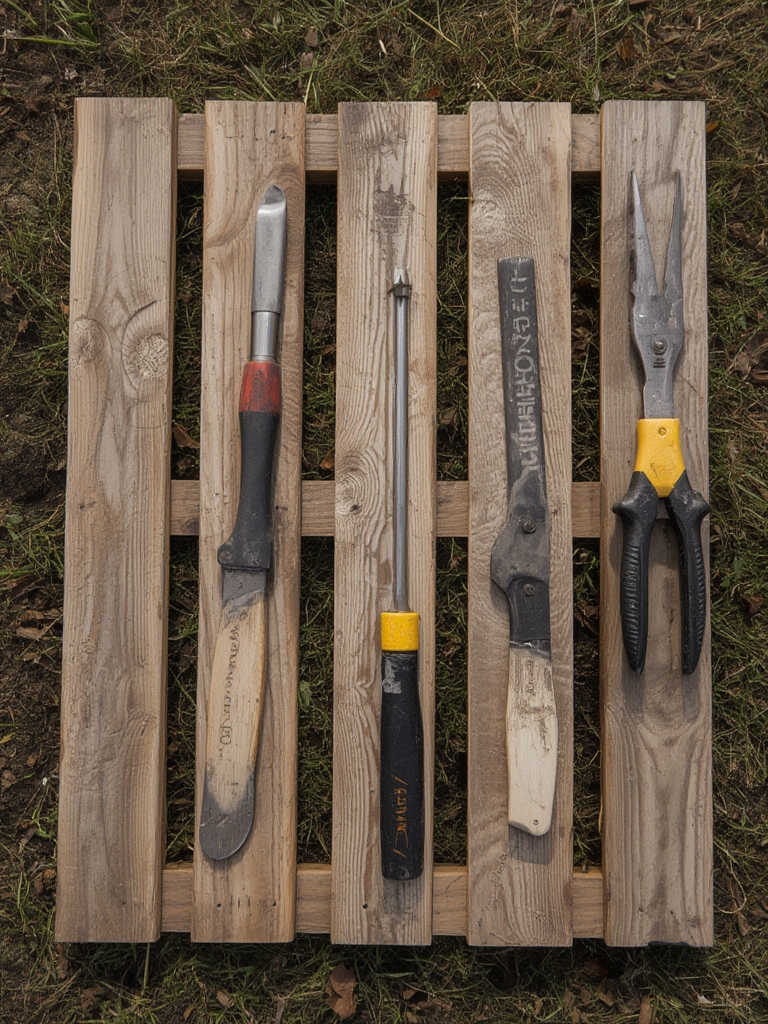
Tools Required:
- Hammer and nails (or wood screws and drill)
- Measuring tape
- Utility knife or scissors
- Work gloves
- Safety goggles
Optional Items:
- Wood stain or outdoor sealant for weatherproofing
- L-brackets for wall mounting
- Pallet wood paint for aesthetic customization
- Slow-release fertilizer pellets
When selecting your pallet, ensure it’s stamped “HT” (heat-treated) rather than “MB” (methyl bromide treated), as chemical treatments can leach harmful substances into your soil and plants.
Timing / Growing Schedule
Preparation Time: 2-3 hours (including wood treatment and assembly)
Planting to Maturity: Varies by plant selection
- Herbs (basil, parsley, cilantro): 4-8 weeks
- Lettuce and greens: 6-8 weeks
- Strawberries: 4-6 weeks for fruit after transplanting
- Flowers (petunias, marigolds): 6-10 weeks to bloom
The beauty of vertical gardening with upcycled materials is that you can start this project year-round if working indoors, or time it for spring planting outdoors. Most gardeners complete the structure in one afternoon and begin planting immediately, seeing visible growth within 1-2 weeks.
Step-by-Step Instructions
Step 1: Inspect and Prepare Your Pallet
Thoroughly examine your pallet for protruding nails, splinters, or damage. Sand all surfaces smooth, paying special attention to areas you’ll handle frequently. This pallet planter tutorial step prevents injuries and creates a cleaner finished appearance.
Step 2: Treat the Wood (If Necessary)
Learn how to treat pallet wood properly by applying non-toxic wood sealant or linseed oil to protect against moisture and rot. Allow 24 hours to dry completely before proceeding.
Step 3: Attach the Backing
Flip your pallet face-down. Cut landscape fabric to cover the back, bottom, and sides. Staple securely every 2-3 inches, creating pockets that will hold soil. Double-layer the bottom for extra strength.
Step 4: Fill With Soil
Position your pallet at a 45-degree angle. Fill each section with quality potting soil, compacting gently as you go. Work from bottom to top, ensuring soil reaches all corners.
Step 5: Plant Your Garden
Create small holes in the fabric for each plant. Insert seedlings or sow seeds according to package directions. Space appropriately based on mature plant size.
Step 6: Allow Establishment Time
Keep the pallet angled or horizontal for 1-2 weeks, allowing roots to establish before positioning vertically. Water gently but thoroughly.
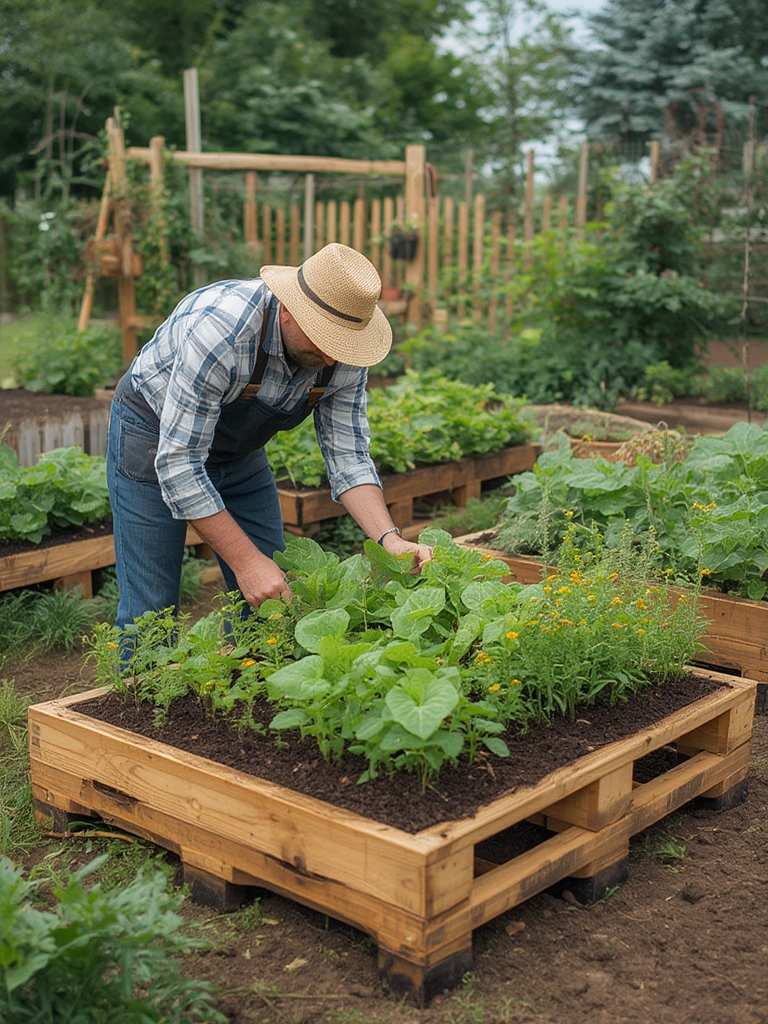
Step 7: Mount or Position Vertically
Once plants are established, carefully move your pallet to its permanent location. Secure to a wall using L-brackets or lean against a sturdy surface at a slight angle.
Nutritional Benefits / Advantages
Creating a DIY Pallet Garden delivers multiple benefits:
- Fresh, Organic Produce: Grow pesticide-free herbs and vegetables steps from your kitchen
- Space Efficiency: Vertical design maximizes growing area in small yards or balconies
- Environmental Impact: Repurpose old wood for garden use, diverting waste from landfills
- Cost Savings: Free or low-cost pallets significantly reduce gardening expenses
- Improved Air Quality: Plants naturally filter air, especially beneficial in urban environments
- Mental Health Benefits: Gardening reduces stress and provides therapeutic satisfaction
Tips, Alternative Methods, or Gardening Advice
For Small Spaces: Mount multiple smaller pallets on apartment balcony walls to create an edible wall garden.
Indoor Adaptation: Use LED grow lights and position near south-facing windows for year-round indoor herb gardens.
Climate Considerations:
- Hot climates: Choose drought-tolerant succulents or Mediterranean herbs
- Cold regions: Select cold-hardy plants and move indoors during frost
Container Alternative: If wall mounting isn’t possible, add legs to create a freestanding A-frame structure.
Companion Planting: Combine basil with tomatoes, or marigolds with vegetables to naturally deter pests.
Common Mistakes to Avoid
Using Chemically Treated Pallets: Always verify “HT” stamps to avoid toxic contamination.
Insufficient Drainage: Without proper drainage holes, water accumulates and causes root rot. Drill additional holes if needed.
Overcrowding Plants: Respect spacing requirements; crowded plants compete for nutrients and sunlight.
Inadequate Support: Secure pallets properly with appropriate hardware rated for outdoor use and weight.
Neglecting Water Needs: Vertical gardens dry faster than ground beds. Check moisture daily, especially in summer.
Skipping Soil Quality: Cheap soil compacts and drains poorly. Invest in quality potting mix with perlite or vermiculite.
Storage / Maintenance Tips
Ongoing Care:
- Water when the top inch of soil feels dry (typically every 1-2 days in warm weather)
- Apply diluted liquid fertilizer bi-weekly during growing season
- Prune regularly to encourage bushier growth and prevent legginess
- Inspect weekly for pests; treat organically with neem oil if needed
Seasonal Maintenance:
- Spring: Refresh soil and replace annual plants
- Summer: Increase watering frequency; provide afternoon shade in extreme heat
- Fall: Harvest remaining crops; plant cold-season varieties
- Winter: Move indoors or protect with frost cloth in freezing climates
Wood Preservation: Reapply sealant annually to extend pallet lifespan and prevent deterioration.
Conclusion
Building a DIY Pallet Garden transforms discarded materials into a productive, beautiful growing space that anyone can create in just one afternoon. This sustainable project proves that effective gardening doesn’t require expensive equipment or extensive space—just creativity and commitment. Whether you’re growing fresh herbs for cooking, brightening your space with flowers, or cultivating vegetables for your table, pallet gardening offers an accessible entry into self-sufficiency. Ready to start your transformation from trash to treasure? Share your pallet garden success stories in the comments below, and explore our other upcycling garden projects for more sustainable inspiration!
FAQs
Q1: Where can I find free pallets for my garden project?
Check with local grocery stores, garden centers, home improvement stores, or warehouses. Many businesses discard pallets regularly and are happy to give them away. Always ask permission and confirm they’re heat-treated (HT), not chemically treated.
Q2: How long will a pallet garden last outdoors?
With proper treatment and maintenance, a heat-treated pallet garden typically lasts 3-5 years outdoors. Regular application of non-toxic sealant and protection from ground moisture significantly extends lifespan.
Q3: What plants work best in vertical pallet gardens?
Shallow-rooted plants thrive best: herbs (basil, thyme, oregano), lettuce, strawberries, succulents, and trailing flowers like petunias. Avoid deep-rooted vegetables like carrots or plants requiring extensive root space.
Q4: Can I grow vegetables in a pallet garden?
Absolutely! Compact varieties work wonderfully—try cherry tomatoes, peppers, salad greens, radishes, and bush beans. Choose determinate or dwarf varieties specifically bred for container growing.
Q5: How do I prevent my pallet garden from becoming too heavy when mounted?
Use lightweight potting mix rather than garden soil, ensure proper drainage to avoid water accumulation, and secure with heavy-duty L-brackets rated for at least 50 pounds. Distribute weight evenly across mounting points and attach to wall studs, not just drywall.