
Start a Worm Bin! The Ultimate Guide to Easy, Odor-Free Indoor Composting for Apartments
Introduction
Did you know that the average household throws away over 200 pounds of food waste annually that could be transformed into nutrient-rich soil instead? If you live in an apartment or small space and think composting is impossible, think again! DIY Indoor Composting is not only achievable but surprisingly simple, odor-free, and incredibly rewarding. Whether you’re passionate about reducing waste, growing healthier plants, or embracing sustainable living, starting a worm bin is your gateway to eco-friendly composting right in your own home—no backyard required.
Materials & Supplies
To begin your DIY Indoor Composting journey, gather these essential materials:
Required Items:
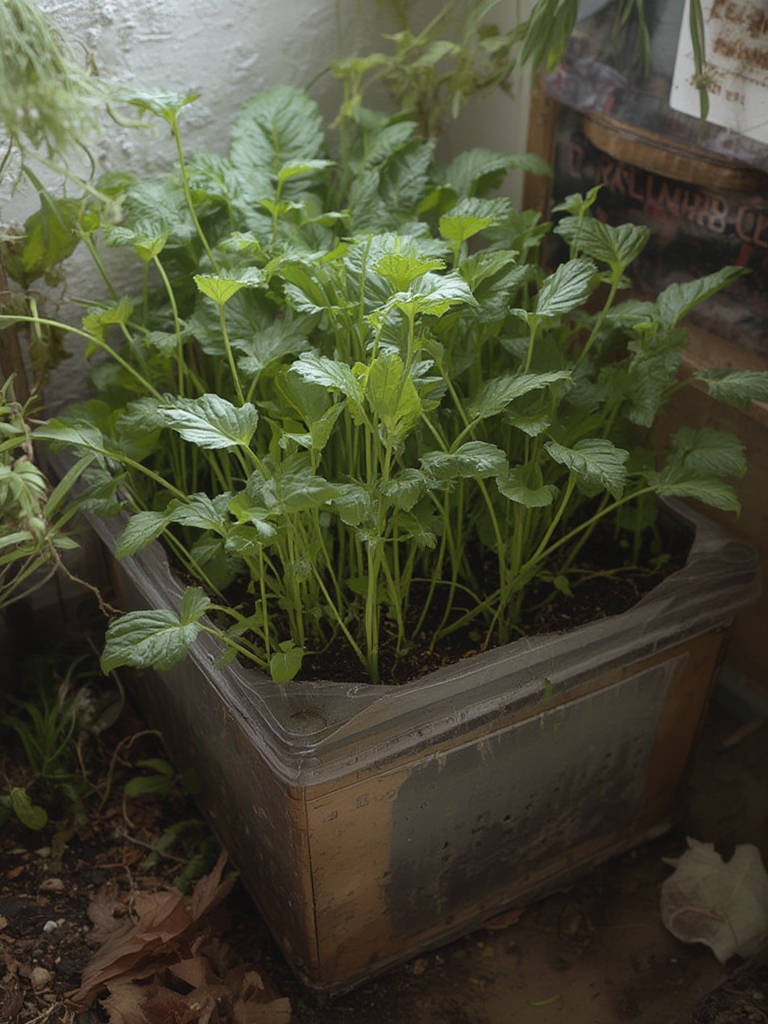
- Worm bin container – Two stackable plastic bins (8-10 gallon size) or a commercial vermicomposting bin
- Red wiggler worms – Approximately 1 pound (1,000 worms) available from garden centers or online
- Bedding material – Shredded newspaper, cardboard, coconut coir, or dried leaves
- Spray bottle – For maintaining moisture levels
- Drill – To create ventilation holes
- Food scraps – Vegetable peels, coffee grounds, tea bags, crushed eggshells
Optional Supplies:
- pH testing strips
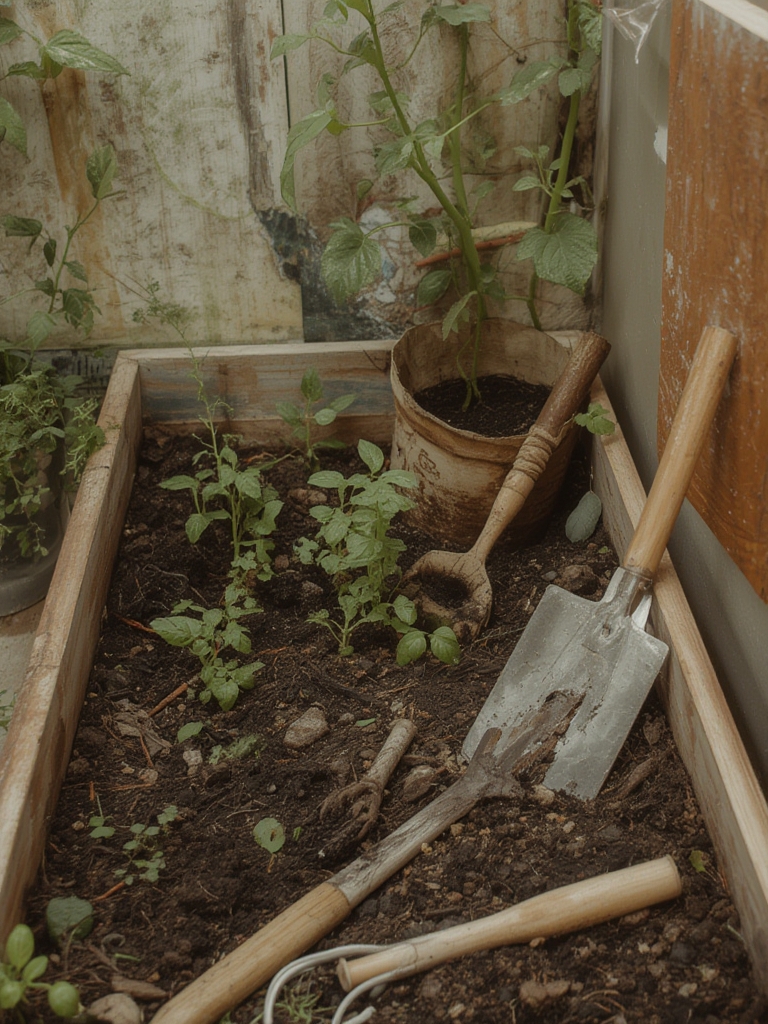
- Small hand trowel or composting fork
- Thermometer for monitoring bin temperature
- Bokashi bucket as a pre-composting step
Timing / Growing Schedule
Setting up your worm bin takes approximately 30-45 minutes. The worms need 1-2 weeks to acclimate to their new environment before you begin adding food scraps regularly. Vermicomposting for beginners typically produces usable compost (worm castings) within 3-6 months, depending on the number of worms and feeding frequency. Unlike traditional outdoor composting that takes 6-12 months, indoor vermicomposting works year-round at a faster pace.
Step-by-Step Instructions
Step 1: Prepare Your Bins
Drill 8-10 small ventilation holes (¼ inch) around the upper sides of both bins. Drill drainage holes in the bottom of one bin only—this will be your working bin.
Step 2: Create Bedding
Fill the working bin halfway with moistened bedding material. Shredded newspaper should feel like a wrung-out sponge—damp but not dripping. Fluff the bedding to create air pockets.
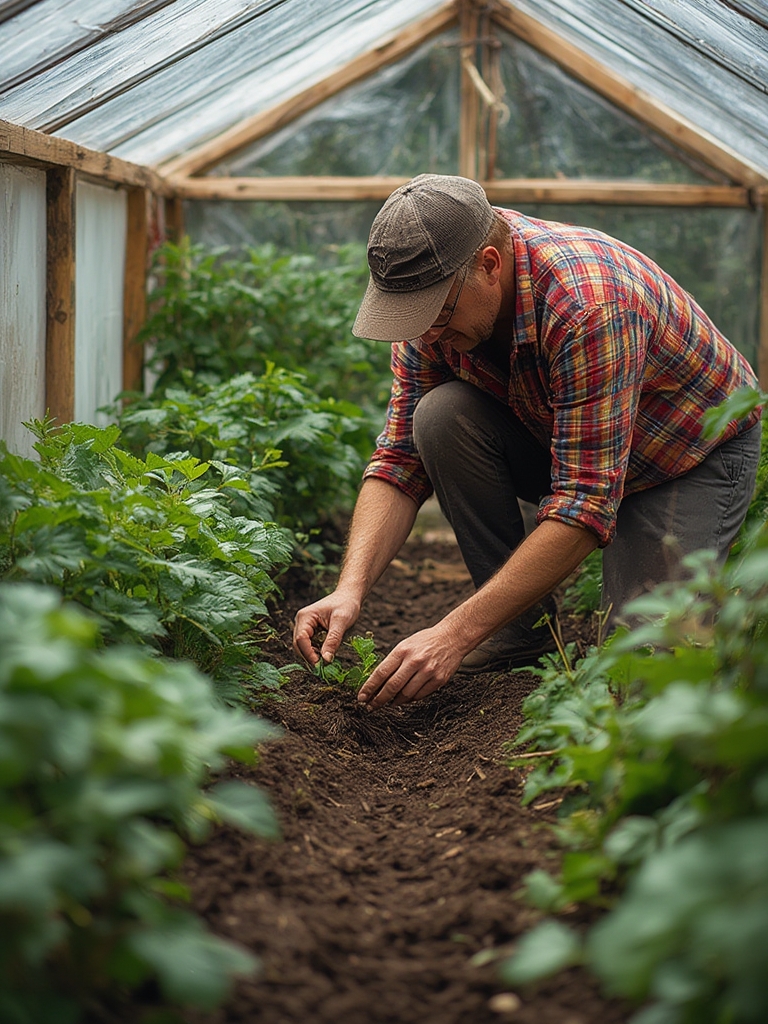
Step 3: Add Your Worms
Gently place red wigglers on top of the bedding. They’ll burrow down naturally within minutes. Add a handful of garden soil to introduce beneficial microorganisms.
Step 4: Start Feeding
Wait 24 hours, then bury small amounts of chopped food scraps under the bedding. Start with ½ pound of scraps per pound of worms weekly, focusing on turning food scraps into soil gradually.
Step 5: Monitor and Maintain
Check moisture weekly—bedding should remain consistently damp. Stack the second bin underneath to catch liquid drainage (excellent compost tea recipe material).
Nutritional Benefits / Advantages
Worm castings produced through vermicomposting are nature’s perfect fertilizer, containing 5 times more nitrogen, 7 times more phosphorus, and 11 times more potassium than average topsoil. This black gold improves soil structure, increases water retention, and enhances plant disease resistance. Beyond plant nutrition, indoor composting reduces household waste by 30%, decreases methane emissions from landfills, and saves money on fertilizers and waste disposal. It’s an educational opportunity for families and provides therapeutic benefits through connecting with natural cycles.
Tips, Alternative Methods, or Gardening Advice
Space-Saving Solutions: Under-sink bins, closet composting, or balcony setups work perfectly for apartments.
Climate Considerations: Maintain bin temperatures between 55-77°F. In winter, move bins away from cold windows; in summer, ensure adequate ventilation.
Alternative Methods: Consider Bokashi composting indoors for meat and dairy scraps that worms can’t process. This fermentation method complements vermicomposting beautifully.
Harvest Technique: Use the “migration method”—push finished compost to one side, add fresh bedding and food to the other. Worms migrate naturally, leaving pure castings behind.
Common Mistakes to Avoid
Overfeeding: This causes odors and attracts pests. Feed only what worms consume within 2-3 days.
Wrong Food Choices: Avoid citrus, onions, garlic, meat, dairy, and oily foods. Stick to vegetable scraps, fruit (except citrus), coffee grounds, and crushed eggshells.
Moisture Imbalance: Too wet creates anaerobic conditions and odors; too dry kills worms. Maintain sponge-like dampness.
Neglecting Bedding: Always bury food scraps completely under bedding to prevent fruit flies.
Temperature Extremes: Keep bins away from heating vents and air conditioners.
Storage / Maintenance Tips
Harvesting Compost: Finished castings are dark, crumbly, and earthy-smelling. Store in breathable bags or containers away from direct sunlight.
Ongoing Care: Feed weekly, check moisture bi-weekly, and harvest castings every 3-4 months. Add fresh bedding when existing material breaks down.
Compost Tea: Dilute collected drainage liquid 10:1 with water for a powerful plant fertilizer.
Worm Population: Healthy populations self-regulate based on space and food availability. Share excess worms with fellow gardeners.
Conclusion
Starting your DIY Indoor Composting journey with a worm bin transforms kitchen waste into gardening gold while contributing to environmental sustainability. This low-maintenance, apartment-friendly system proves that anyone can compost successfully, regardless of space limitations. Ready to join the composting revolution? Start small, be patient with your worm friends, and watch as they transform your scraps into the richest soil amendment available. Share your vermicomposting journey in the comments below, and explore our other sustainable gardening guides!
FAQs
Q1: Will my worm bin smell bad?
Properly maintained worm bins are completely odor-free. Any smell indicates overfeeding, excessive moisture, or incorrect food choices. Adjust feeding amounts and add dry bedding to resolve issues.
Q2: How many worms do I need to start?
Begin with 1 pound of red wigglers (approximately 1,000 worms) for a standard household. Populations double every 2-3 months under ideal conditions.
Q3: Can I use regular earthworms instead of red wigglers?
No. Red wigglers (Eisenia fetida) are surface-dwelling composting worms, while common earthworms burrow deep and won’t thrive in bins.
Q4: What if I go on vacation?
Worms can survive 4-6 weeks without feeding. Before leaving, add extra bedding and a larger food portion, ensure proper moisture, and keep bins in a stable temperature location.
Q5: How do I prevent fruit flies?
Always bury food scraps completely, freeze scraps before adding, avoid overfeeding, and consider a newspaper layer on top of bedding as a barrier.